Poison Toffee Apples for Halloween
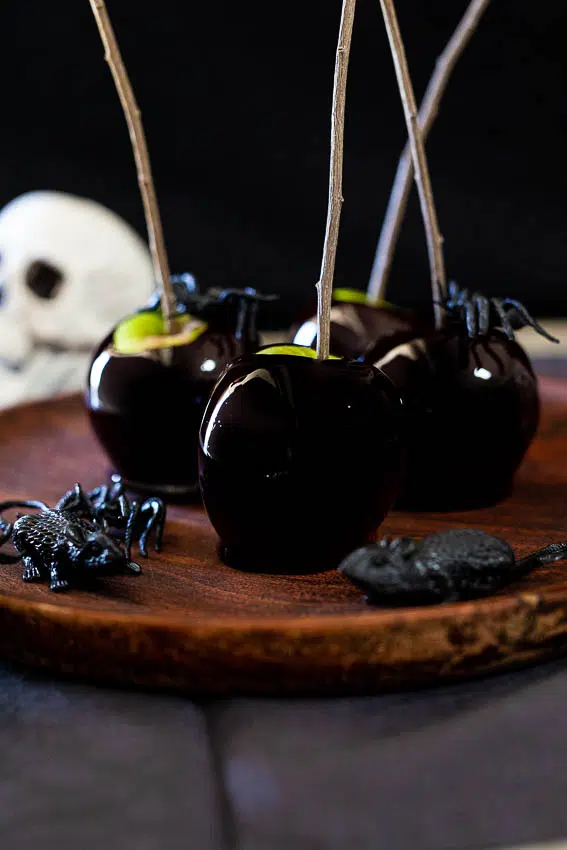
These black Poison candy apples are the ultimate wickedly sinister Halloween treat and will make an excellent centerpiece.
As a child, eating a candy apple was the ultimate delight. I never felt guilty because well, it’s an apple! Yes, it has tons of sugar around it but who cares? It’s fruit! I would always crack the candy coating on the table because it was just too hard to bite through and I loved how it always made me feel so jolly when I ate it. And I now see that same joy on my kids’ faces when they eat them.
Making them is equally fun. Even more fun when they candy coating is a glossy, sinister black. They remind me of something Maleficent would serve. Just perfect for Halloween. I have made a whole batch and have wrapped them in cellophane, ready to give to the trick-or-treaters who have become a fun addition in the last few years. As South Africans, Halloween is not a holiday we normally celebrate but I just love the dressing up and the festivity of it all. These apples make a beautiful center piece and will add the appropriate amount of wickedness to your party.
Ingredients needed
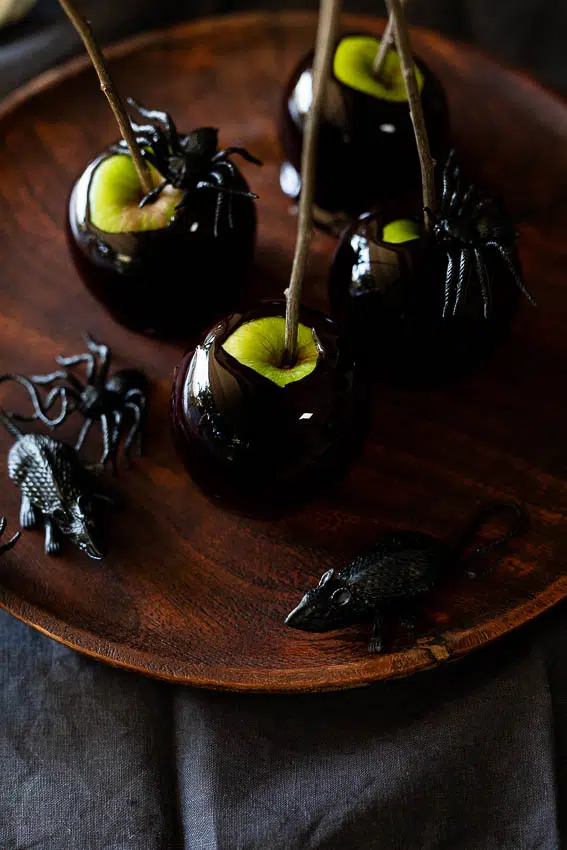
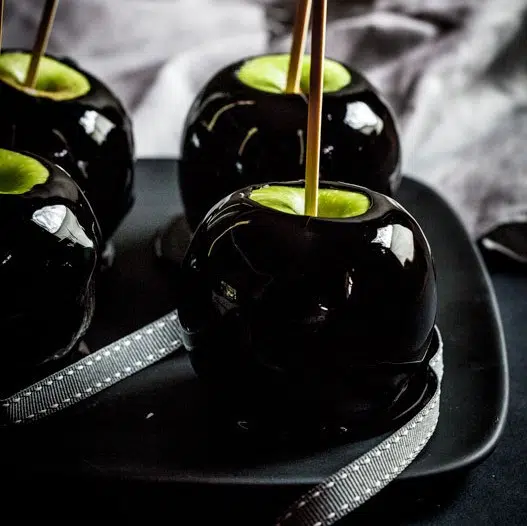
- Apples. I used Granny Smith apples. I love how the green apples and black candy coating contrast but use any crisp, tart apple of your choice. Fuji, Honeycrisp, etc. work well.
- Sugar.
- Water.
- Corn syrup. Liquid glucose works equally well.
- Black food coloring. I used a gel food coloring.
How do I make candy apples?
- Prepare the apples and dipping station: Wash your apples in warm water (especially if they have a wax coating). Remove the stems from the apples. Skewer your apples with kebab sticks (or use branches from a non-toxic tree for a fun twist) and set aside. Line a sheetpan with parchment paper or spray with cooking spray and set aside. You could also allow the apples to set on a silicone mat.
- Make the candy coating: Combine sugar, water, corn syrup and black food coloring in a saucepan and set over medium-high heat. Allow to come to a boil, stirring to dissolve the sugar. Once the sugar has dissolved, stop stirring and wash down the sides of the pot with a wet brush. This prevents sugar crystals from falling into the caramel and causing it to crystallize. Cook the caramel until it’s reached the hard crack stage (150ºC/310ºF on a candy thermometer). To check if you’ve reached hard crack stage without a candy thermometer, simply drop a little of the boiling sugar mixture into a glass of ice cold water. The sugar should form hard, brittle threads.
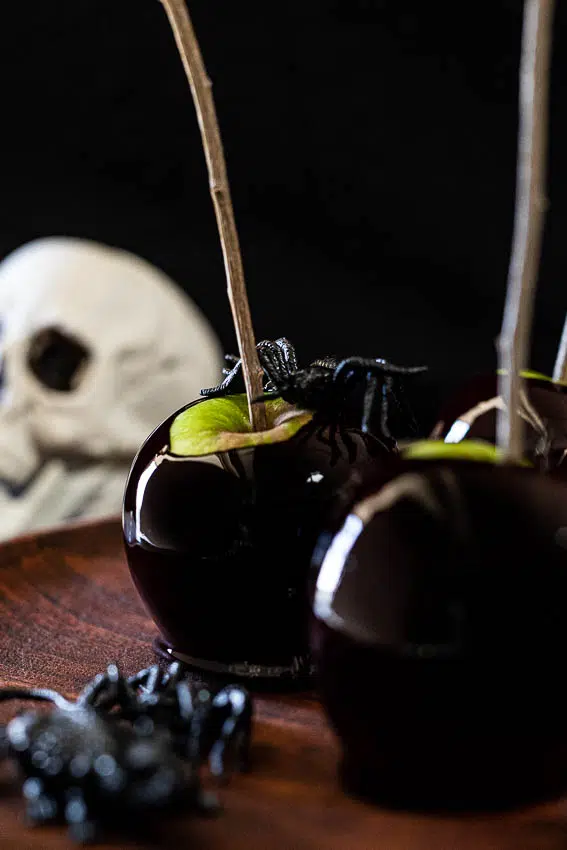
- Dip the apples: Carefully dip the apples into the sweet candy coating. Carefully tip the pan to the side and swirl the apples into the candy mixture. Place on the prepared sheetpan and allow to cool and harden before serving.
What is the best apple to use for candy apples?
Granny Smith apples are perfect for toffee/candy apples. Their tart, crispness works very well with the sugary sweetness of the candy coating.
Can you put candy apples in the fridge?
You can, but it’s not recommended. The candy coating can start to sweat in the refrigerator and can slide off the apple. Rather wrap the cooled, hardened candy apples in cellophane and tie well to prevent any oxygen from getting to the apples. This way they will last up to 3-5 days at room temperature. The best way to prevent oxygenation though is to coat the apples and the entry point of the skewer into the apple completely in the candy coating. This way they can last up for 10 days.
Halloween recipes
- Easy Halloween Pasta
- Halloween Charcuterie Board
- Dementor’s Kiss Cocktail
- Halloween Pizza
- Halloween mummy berry handpies
- Monster munch mix
- Halloween candy bark
Ingredients
- 2 cups granulated sugar
- 3/4 cups water
- 1/2 cup liquid glucose/light corn syrup
- few drops black gel food colouring
- 6 Granny Smith apples or 12 small apples (Ensure your apples are fresh and haven’t been waxed)
Instructions
- Grease a piece of baking paper and place on a tray/baking sheet.
- Insert bamboo skewers in all the apples and set aside.
- Combine sugar, water, corn syrup and black food coloring in a saucepan and set over medium heat.
- Allow to come to a simmer, stirring to dissolve the sugar.
- Once the sugar has dissolved, stop stirring and wash down the sides of the pot with a wet brush. This prevents sugar crystals from falling into the caramel and causing it to crystallize.
- Cook the caramel until it's reached the hard crack stage (150ºC/310ºF on a candy thermometer). To check if you've reached hard crack stage without a candy thermometer, simply drop a little of the boiling sugar mixture into a glass of ice cold water. The sugar should form hard, brittle threads.
- Carefully dip the apples into the caramel mixture. Carefully tip the pan to the side and swirl the apples into the candy mixture.
- Place on the prepared sheet pan and allow to cool and harden before serving.
I made these poison apples this morning. Kind of disappointed that they didn’t look anything like the picture. I added the black food coloring gel and it didn’t make them dark at all…I have no idea what I did wrong.
It could be that the brand of food colouring your used isn’t as pigmented. If the gel colouring isn’t working well, powder food colouring might be better.
I did the instructions word for word. I tested everything like suggested and what I’ve been left with is some sticky apples and a tray full of sticky gloop. It was a very expensive make so not going to bother again which is sad because I was really looking toward to this 🙁
That’s very disappointing 🙁 It sounds like you didn’t cook the sugar for long enough. When the candy is cooked for long, it will harden relatively quickly at room temperature.
So easy and so cool. Wish I could post photo??
VERY COOL IDEA!
Any chance this would work with Apple Balls? So they could be appetizer size?
I’m sure they would work well. I haven’t tried it so can’t say with certainty but I can’t see why it won’t work.
Just tried this with daughter, not bad but caramel ran off apples so didn’t quite look like pictures. Could I have thickened caramel or scrub apples better (Granny Smiths rinsed). Trying to get right for her Halloween party.
If the sugar is cooked to the right temperatures it won’t slide off the apple. Make sure the apples are completely dry before dipping in the hot caramel.
Place whole apples in boiling water for less than 10 seconds & rub with towel to remove wax & caramel should stick!
I’ve made this every year for the last 3 years. They are always a hit and my kids love them.
So happy you and the kids like them Jo-Anne. 🙂
Do they dry chewy like the ones you buy at the grocery or is the coating hard?
They dry hard like candy,
I have been searching for a Halloween treat for my grandsons special needs class that all the children can have (Gluten free, Peanut Free, No Chocolate, the list goes on ) These are perfect and I doubt anyone else will be bringing them in this small town!! It’s really hard to find something for everyone, last year parents all seemed send something that at least one child couldn’t have me I sent a cut fruit decorated to look like a monster Kids had a great time disassembling and eating him, and am doing that again but wanted something that they could take home that was out of the ordinary and this is it THANK YOU
So glad you found something all the kids can enjoy! 🙂
Those are great Photographs you took, have to try this