Food styling tips for food bloggers
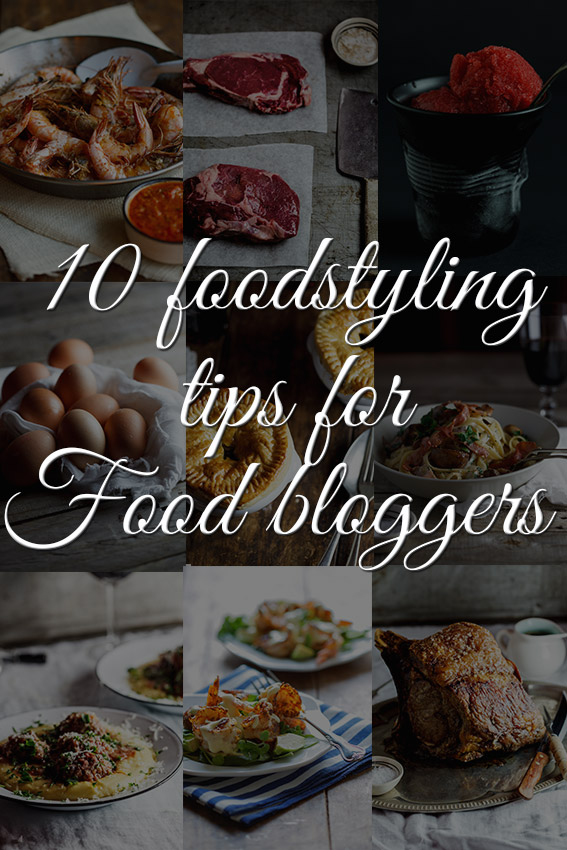
Look, I won’t lie to you. When I first started my blog, my photographs and styling were horrendous. So bad, in fact, that I have constant cringe moments that some of those images are still on the blog (psst…they’re all the way at the back so don’t bother going to look for them. No really, don’t!). And by no means am I calling myself a food styling and photography expert but I think I’ve learnt a whole heck of a lot over the last 5 years of playing with my food and that’s why I’ve decided to give you a few tips for basic food styling for food bloggers. Tips that I’ve picked up from doing both commercial and editorial styling for loads of different campaigns and of course also styling for Simply Delicious and my cook books.
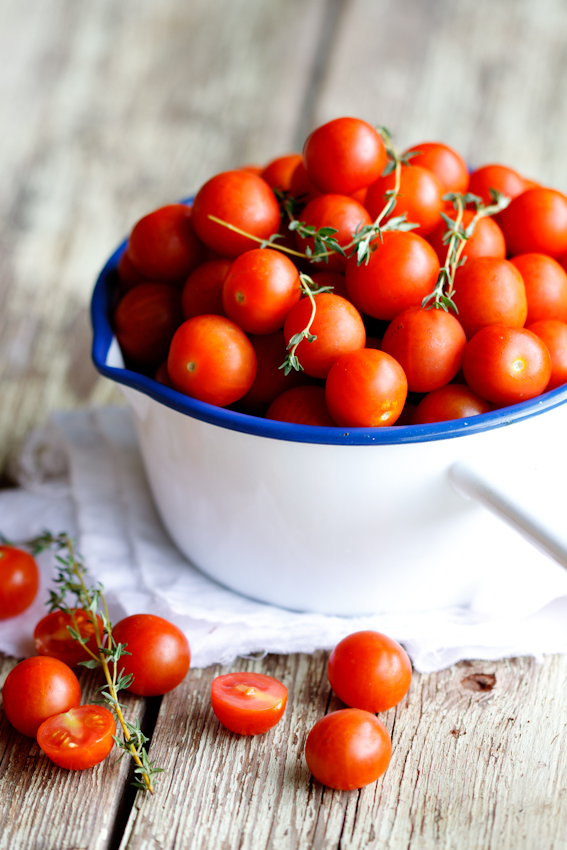
#1 Use small plates and bowls.
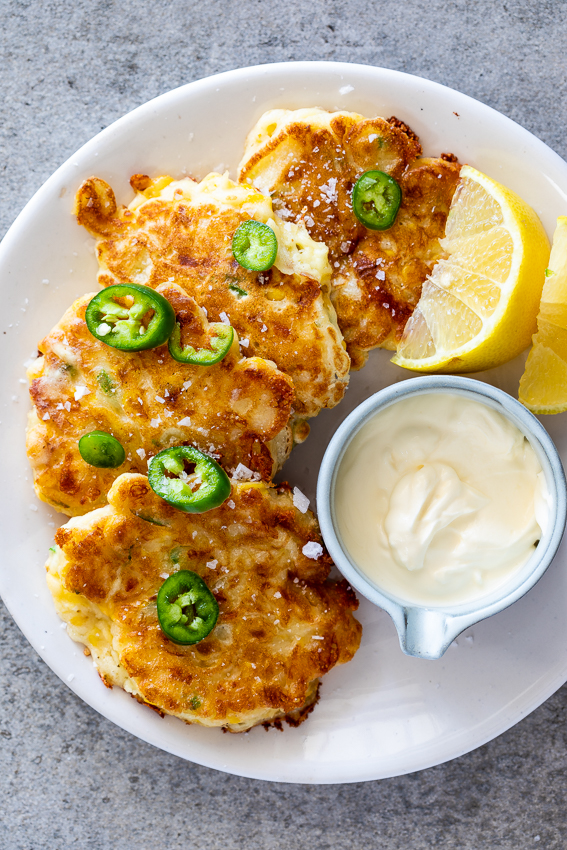
When you style food, it can often drown on a huge big dinner plate. If you, for instance, are styling fish cakes. Putting 3 fish cakes on a dinner plate (like you might when you are serving dinner for your family) would make the fish cakes look teeny tiny and rather insipid. But style them on a smaller plate with a lemon wedge, some fresh herbs and perhaps even a little bowl of dipping sauce ON the plate, will make the plate look full and abundant. The same goes with bowls. Using a huge bowl for ice cream will mean that you will need to empty the entire container of ice cream into the bowl to make it look nice, using a smaller bowl will require 2-3 neat scoops and will look a lot more appetising (especially when topped with a drizzle of caramel or chocolate and some chopped nuts).
#2 Think about the “ooo yum” factor of your food
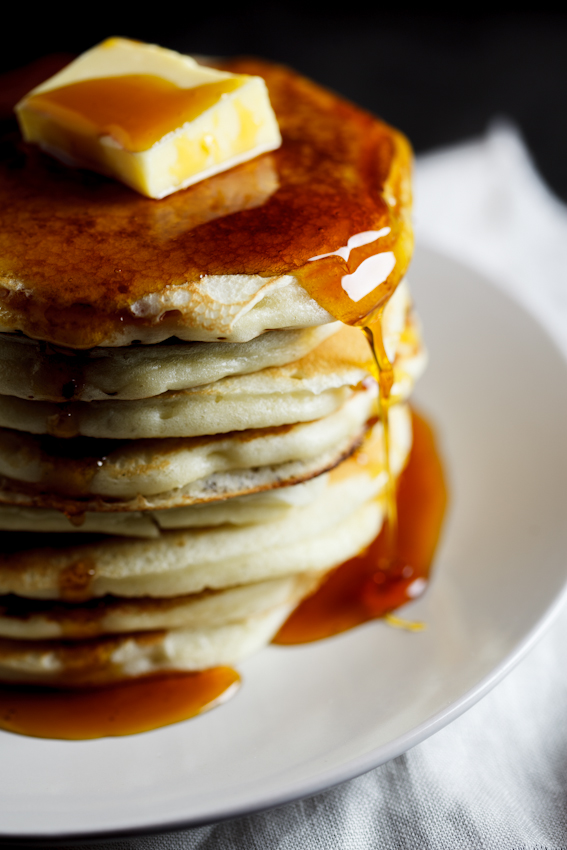
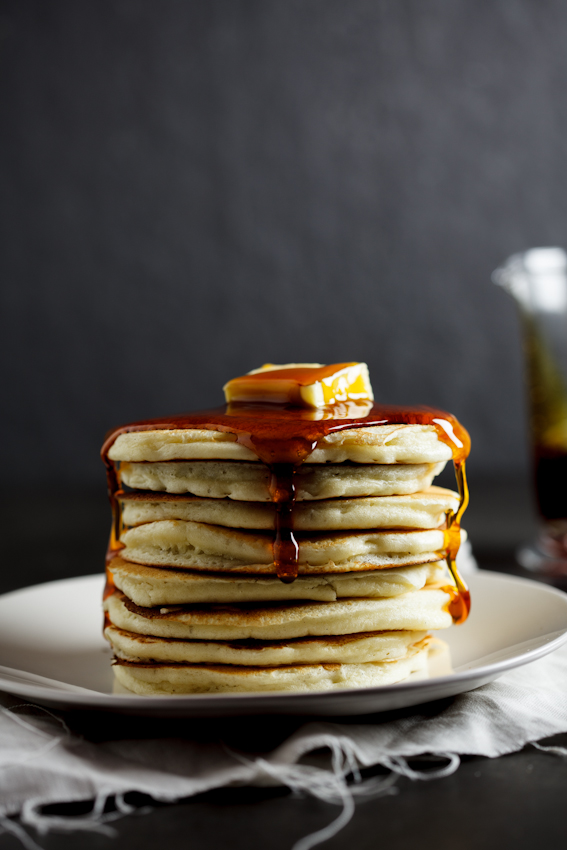
When you are browsing Pinterest there are so many images of food that you often just scroll right over them. But every now and then you come across an image that makes you go “oooh Yum! I want that, like now!” That is exactly the reaction you want from your readers. You don’t want them to go “Oh, pretty plate and styling but the food looks meh.” Always remember that food styling is about FOOD. The focus should be on the food and about making your readers drool on their keyboards. I always try to include at least one close up image of the texture of a crispy piece of chicken or the dripping of caramel. Yes, I love all the pretty props but I want people to want to cook and eat the food, not admire the plate.
#3 Choose the mood
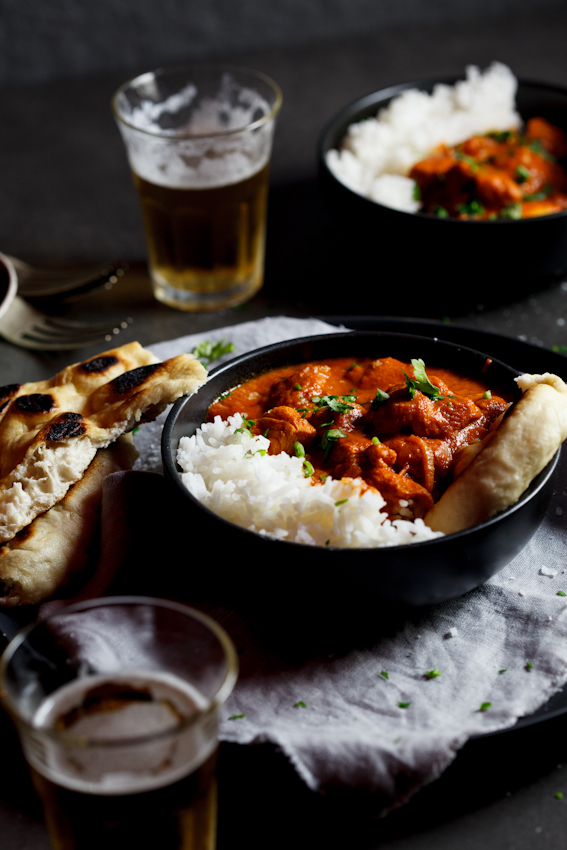
Whenever I conceptualise a new dish, I of course, think about the recipe first but immediately after I start thinking about the styling and photography. Most recipes will dictate the mood, for instance something wintery and comforting like a stew or curry works best with warmer, homier styling, props and lighting. In the same way, a salad or a smoothie suits a lighter, brighter set-up. It’s important to establish the mood for your dish beforehand so you can get all your props and surfaces together before you’re ready to shoot.

#4 Choose your props
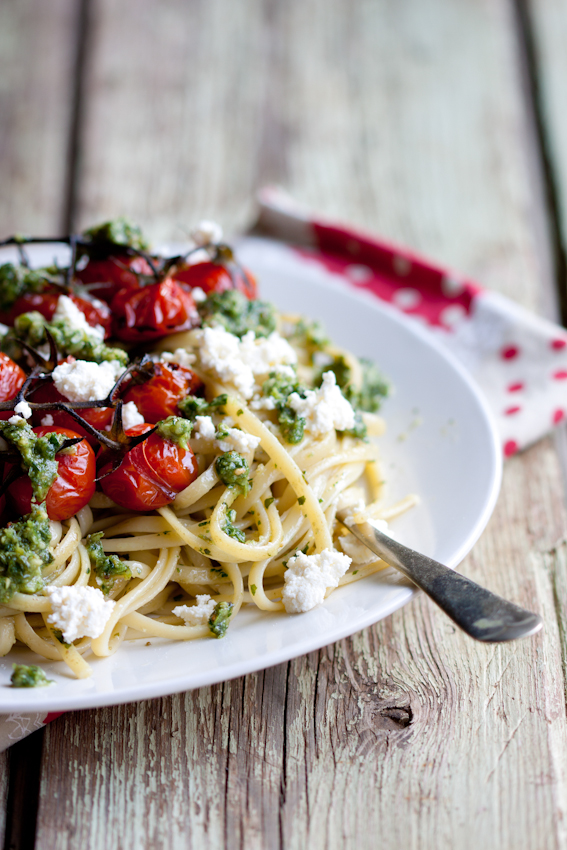
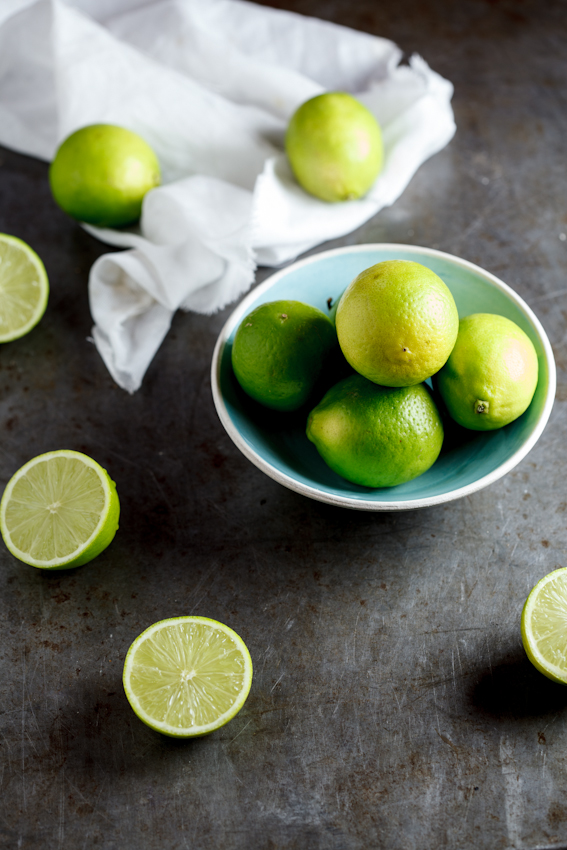
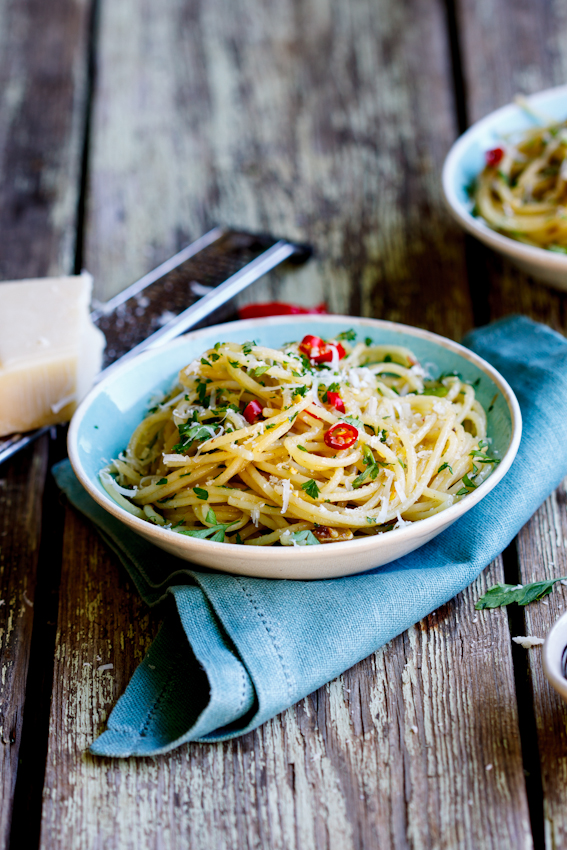
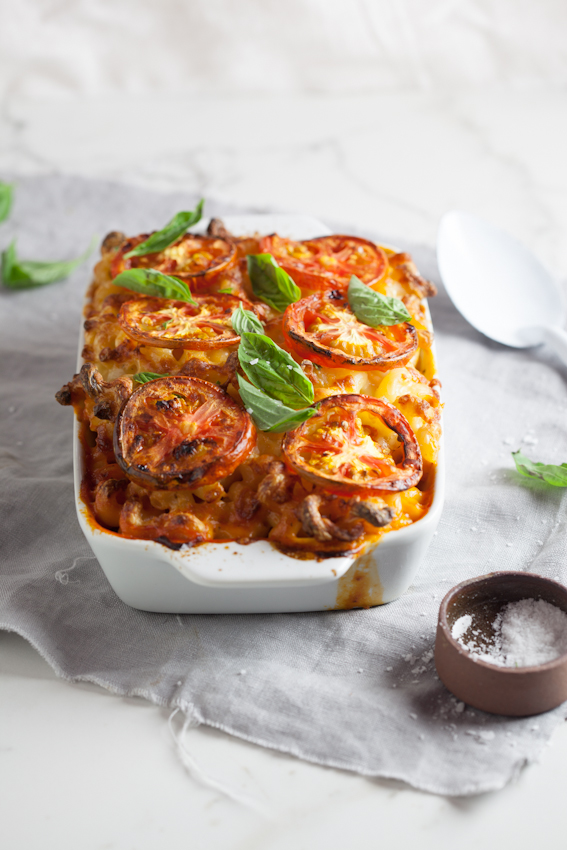
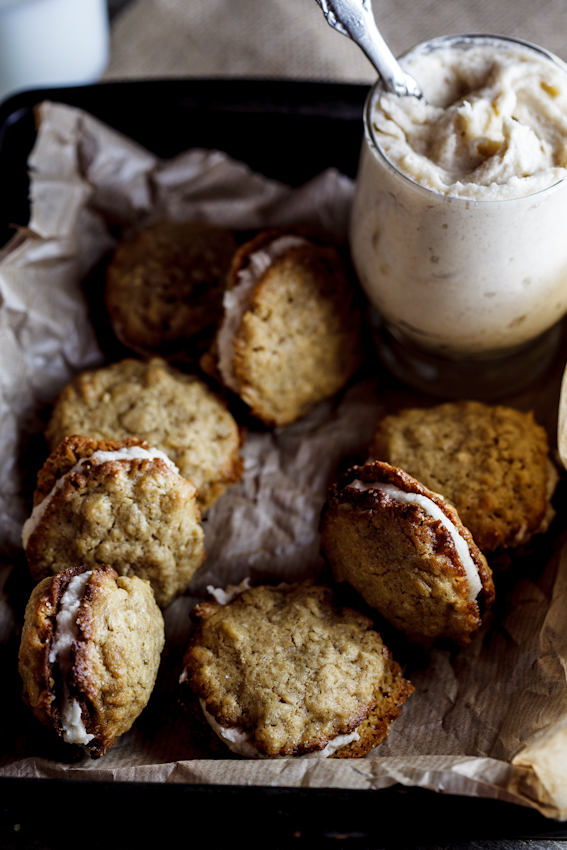
Choosing props and the surface (and background) I’m going to shoot with is probably my favourite part of styling. First of all, having a prop cupboard means I get to shop for props and you never have to ask me twice to go shopping. But mostly I love that I get to tell a story through the props and styling of a recipe. I prefer plain, matte plates and bowls but I do have a few patterned pieces that work with certain dishes. I also really love working with vintage silverware, baking tins and glasses. It’s also important to remember that the story gets completed by ingredients/drinks that compliment your dish. Tacos, pizza, burgers and sandwiches all work so well with a few glasses/bottles of beer in the background while pasta, risotto, stews and soups look lovely with a goblet or two of wine. Fresh herbs, finely sliced/chopped chillies, lemon/lime cheeks or a bowl of a side dish will add a lot of ‘body’ to your photo. Small bowls of salt and pepper always add texture and colour while fabric can often just finish everything off. I prefer using muslin or raw linen which gives lovely texture and have an array of colours that I get to play with.
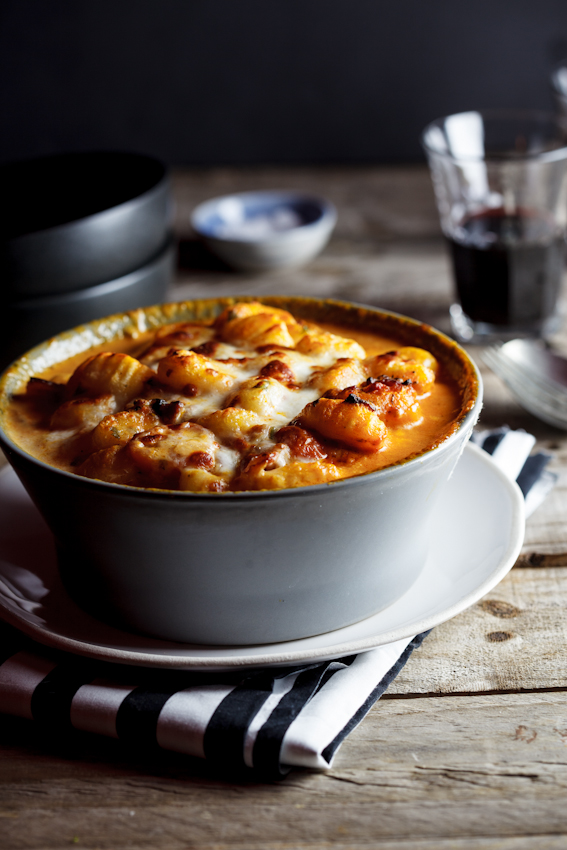
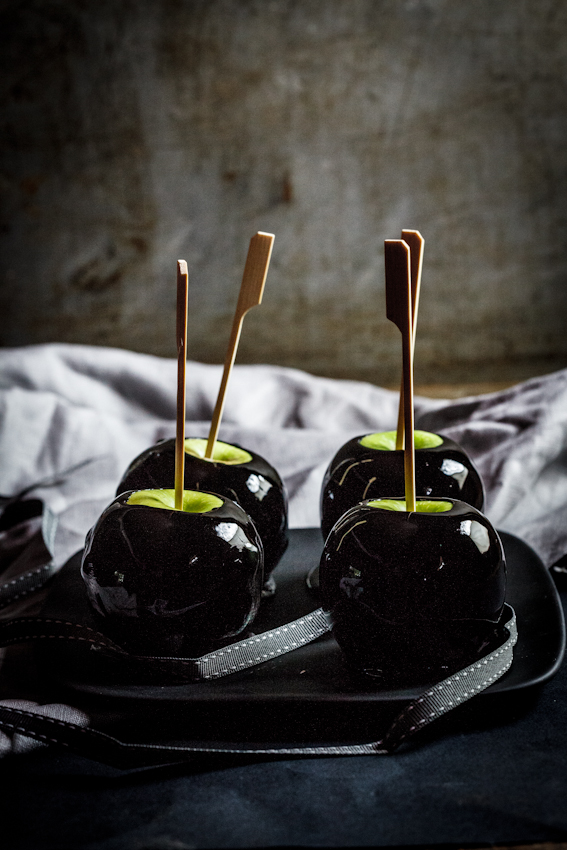
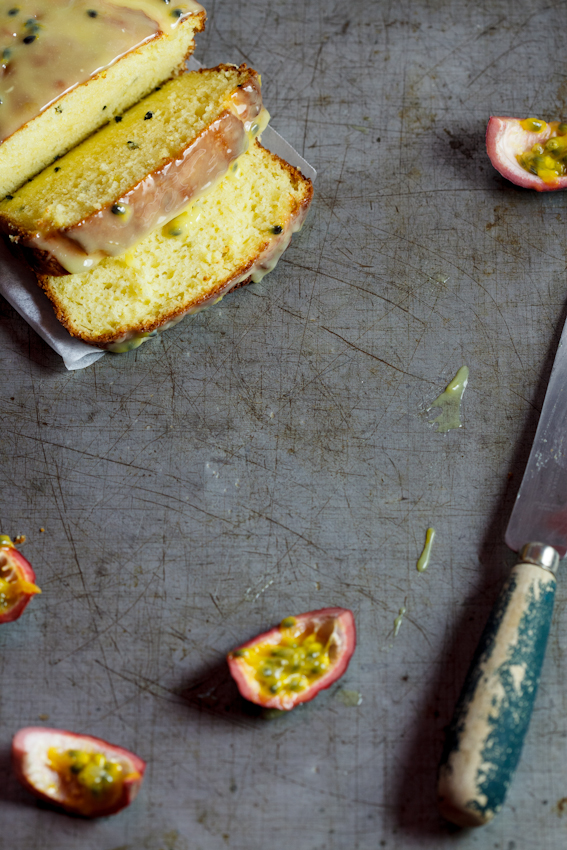
When it comes to surfaces, I love scratched metals, dark tiles and rustic wooden surfaces and backgrounds. I often also use fabric and large pieces of cardboard. My husband (he of many talents) has made me numerous surfaces from reclaimed palettes which we’ve painted in a number of colours. I often go to Tile warehouses and buy single tiles in colours/patterns that I like. They usually sell them for really cheap and that way you can build up your collection relatively easily.
#5 Embrace the light
Chris discussed this in length in his photography post so I’ll just touch on a few details here. Lighting is incredibly important in all photography but with food it is absolutely vital. It’s also important to remember that shadows can be a really great prop and can add a lot of depth and texture to a photo. Darker shadows usually suit wintery/comfort foods better while using a reflector to diffuse shadows work better on the lighter recipes.
#6 Keep it fresh
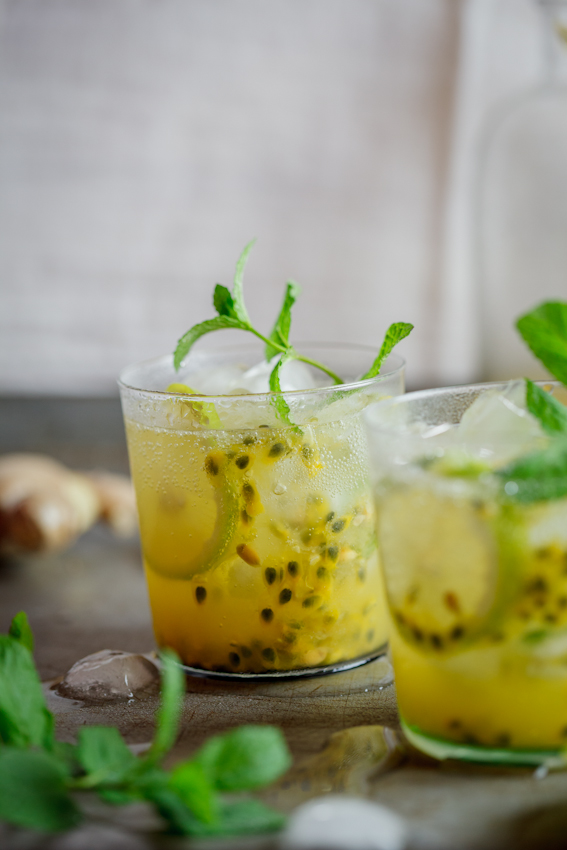
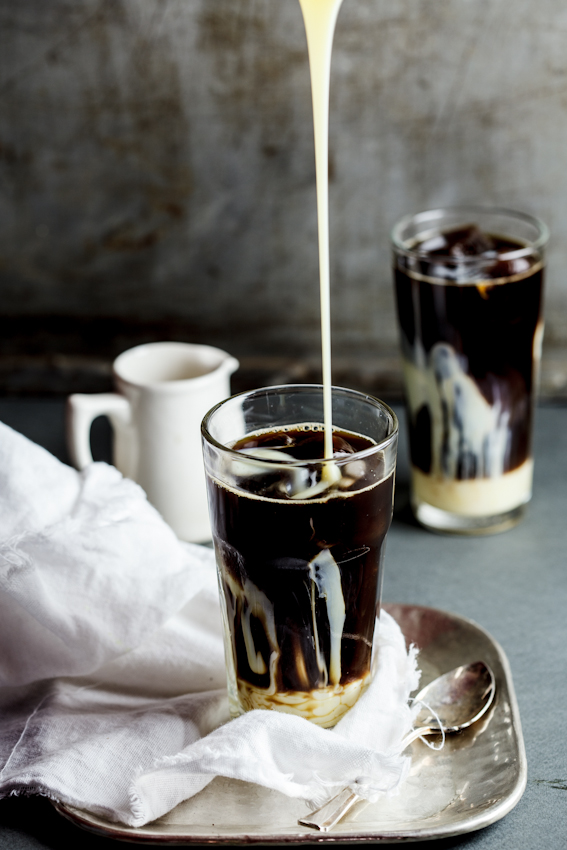
Often with food photography you lose the lustre of the food. Meat dries out, salads can look a bit wilted but that’s where a stylist’s kit comes in. These are things that I first started using when I did commercial styling for big companies and I had to have roasts look amazing even though they’ve been standing around for a few hours. That’s where a brush and cooking juices come in. Brushing the meat with a little of its own cooking juices does wonders. When you’ve cooked steak that hasn’t been marinated, using a mixture of beef extract/beef stock concentrate, a little soy sauce and a few drops of angostura bitters is magic. It doesn’t affect the taste a lot and will make the steak look juicy and moist (this works equally well with burgers). But in all honestly, I’ve never needed to do that with my blog because I shoot the food relatively quickly. When it comes to salads or fresh vegetables, a spritzer bottle filled with water can give it a lot of life and make it look beautifully fresh. A spritzer also works really well for drinks with ice in them. It gives the glass that condensation-look which adds lovely texture and that “ooh-yum” factor to your photo.

#7 Choose your angle
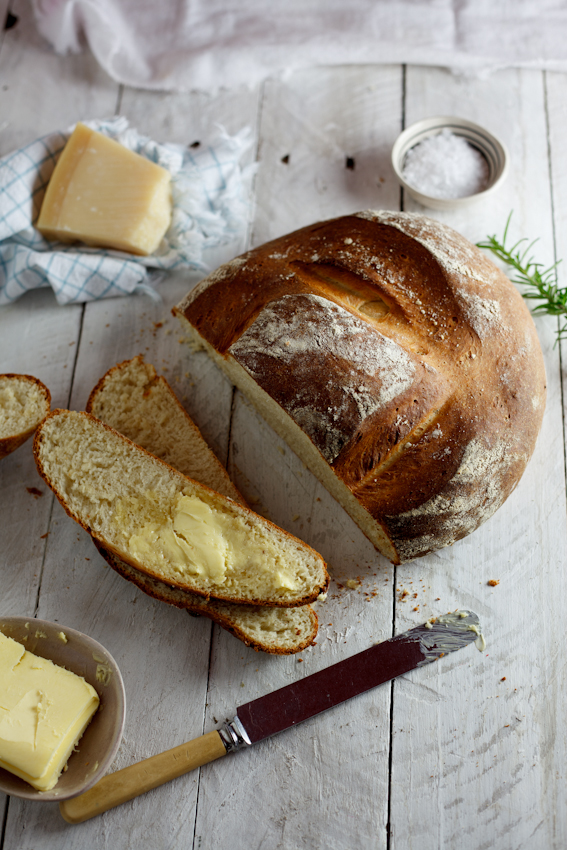
Choosing your angle can make or break a food photo. Firstly, let me say that I photograph ALL of my recipes from every possible angle. I start low and move higher and higher until I’m looking straight down. This way I capture every element of the recipe and all its accoutrement. There are certain dishes, however, that just beg for a certain angle. Burgers, for instance, just don’t work when shot straight down as you lose all the layers, texture and colours. It’s best to shoot it head on so that you capture every layer. A pizza or salad on the other hand works well when shot straight down so you see all the toppings. That doesn’t mean that you can’t get a killer shot from the side though.
#8 Choose your focus
Usually you’ll focus on the main subject but it’s fun to add a few extra photos in your blog post where the focus is on the other elements in the photo. For instance, when you are shooting a sandwich and it has a special mayo/sauce, focusing on a bowl of that behind the sandwich will add interest. I also enjoy playing with the placement of my subject. I’ve recently started playing around with empty space in my photos so will often shoot only half of a dish and leave quite a bit of space open. This is why it’s fun to write a food blog. You get to play and experiment and figure out the style you like the most.
#9 Embrace the elements of art
Food styling and photography is an art and when you create art, you need to know the basics. Creating texture in your photos, using colour, making sure there’s balance in your photo, these are all important things to keep in mind.
Texture is created by the surface and props you use but can also be accentuated by the actual food and added elements like sea salt flakes sprinkled on the plate (and surface if you’re like me) or a few herbs casually placed on and around the food.
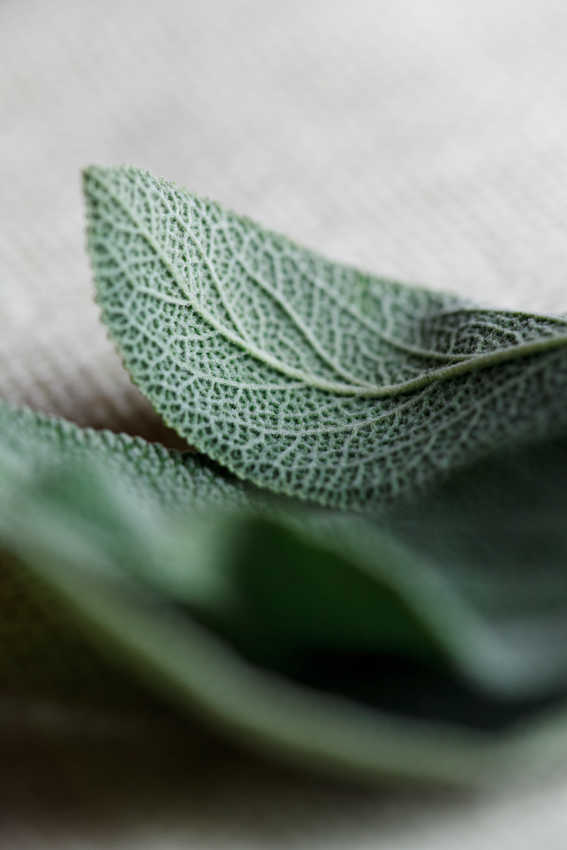
Colour is of utmost importance in food photography. Often a dull-looking stew, curry or soup can be transformed with a sprinkle of fresh coriander or some chopped chillies. Colour can also be accentuated or mirrored in the props you choose. Familiarise yourself with the colour wheel to really make the most of using colour in your photographs.
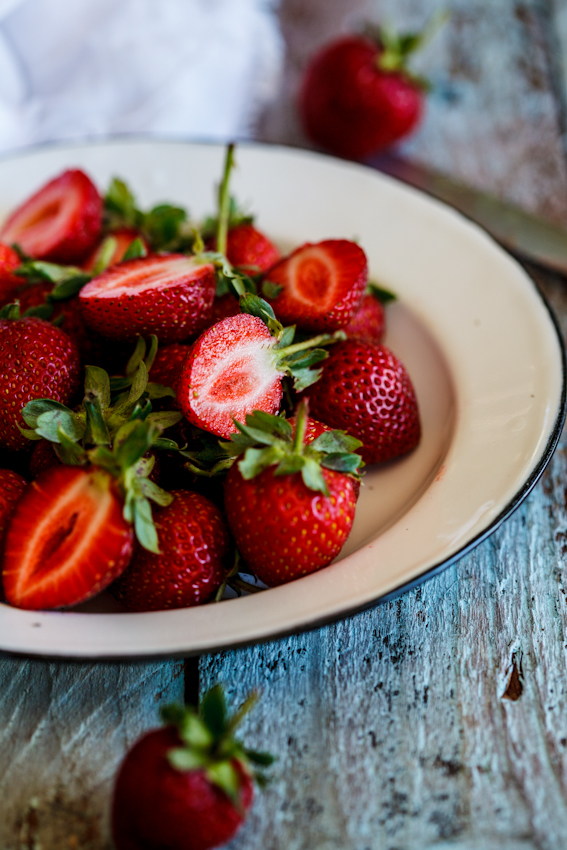
Balance, to me, is really just about creating a photo that is easy to look at. Making sure the props aren’t all squished together or too far apart, making sure there’s just enough in the photo and not too much. Food images can often look very cluttered and that’s where I like to follow the “less is more” rule. You want your images to be pleasant to look at and that’s where balance comes in.
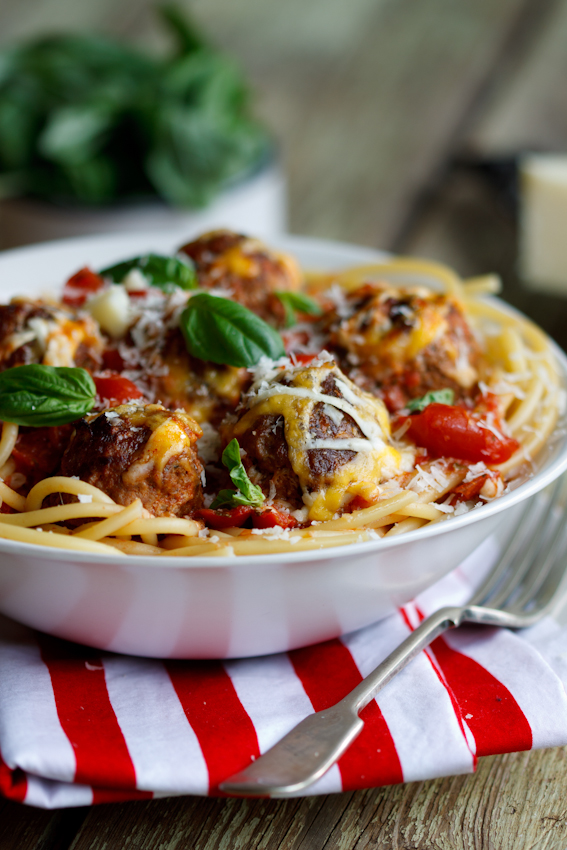

#10 Play with your food
Through playing with my food I have learnt what I like and what I don’t like in creating food photos. By being adventurous I’ve formed a style of my own, even though I think it’s constantly evolving. In some photos I have a lot of props and elements, in others the only thing in the photo is the finished dish. My blog is my space to play, create and have fun. If I feel like changing the style of my photos completely, I can. It might not work but who cares? As long as you’re having fun, change your style as much as you can and embrace new techniques. You’ll soon find the style that suits you best and then you can polish it and perfect it.

Thanks, excellent tips! I am in serious need of those. Can’t wait to apply it to my own photography.
Thank you for the inspiration you forward with this article and for the useful tips . You wrote simply and with great impact for me. Your photos are exceptional . I find it very helpful everything you wrote . Thank you!
Thanks Daniela! I’m so glad you found this article helpful.
Hello! Loved your post, and tips are wonderful! Thanks! I just started a “foodblog” in instagram and I would be so happy if you check it out and tell me what am I doing well or not well – https://www.instagram.com/dahadetox/
Now I am shooting on iphone 5 but I have rented a good camera to try and shoot something on it.
Thank you so much !
(I am from Russia, Moscow)
This post makes me hungry! ?
Then I’ve done my job well. 😉
So very helpful and inspiring blog! Thank you !
So glad you found it helpful!
Thanks for all the great tips Alida! They are very useful and I’m hoping to utilize some of them. 🙂
So glad you found them helpful Ashlyn!
Hi. Your post is very interesting and useful for me, that I’d want to improve my food photography. Thanks for your advices.
Paola
Thank you for the great article! I am in the process of starting my food blog and love reading tutorials like yours! Your pics are stunning, as is your food! I’m excited to get my camera out today and play around, not to mention going shopping for some fun, new props! Keep up the great work!
Thanks so much Cherie. That means so much. Have fun playing around!
Fantastic tips! I’m a total noob in this department and you’ve inspired me to put wayyyy more effort in photographing my food.
Oh, I’m so glad I could inspire you Tina! Happy shooting!
I’m a newbie to food blogging, so I’m pretty excited to find your site. Loved the article and your photos are stunning. Thanks
Thanks so much Sandy!
Such brilliant advice, thank for taking the time to share! 🙂 p.s. found this on Pinterest
I hope it can be of some value! ?
Wow. Very informative post and great photos/examples. Thank you so much for sharing! Definitely hoping this will help me kick it up a notch with my baking blog.
Thanks so much Savanna. I hope this post comes in handy for you! Shout if you have any questions!
Thanks for sharing your precious tips !
Only a pleasure! I hope they are helpful!
I am so happy that I found your site! YA Pinterest! As a new blogger I am starting to understand how much photography means to creating a true experience for my readers. I can’t wait to read your EBook! Thanks for all your helpful tips and tricks!
Thanks for your lovely comment Trisha. So glad that my post could help you.
I stumble across your blog via Pinterest. I am a freelance makeup artist foodie (saw that you are an ex hair and makeup artist :))that wants to start her own food blog. I have been reading so many tips on starting one and creating amazing photos and your post has been really helpful. Your photos are amazing! What software do you use to edit your photos? and lens? I have a Canon 60d and 3 different lenses (50mm is my favorite), but need to keep practicing! I just got reflectors that I need to still learn how to use. Thanks for sharing and your tips!
Thanks for your lovely comment Ana. I use a combination of Lightroom and Photoshop to edit my photos with the bulk of my editing happening in Lightroom. I have a 50mm lens as well as a 100mm macro which I shoot with. Keep practicing, it’s amazing how quickly your photos improve when you practice a lot. 😉
How incredibly generous of you to share your hard earned knowledge in such an enticing way! I’m not a blogger … only an enthusiastic amateur photographer, who has just learned a great deal from your succinct tips and gorgeous photography. Thank you so much!
It’s simply a pleasure. I know how desperate I was for tips and tricks when I was just starting out so if I can do that for someone else, I’m happy to.
This is very useful for those of us who struggle with this…thanks for sharing such great information!
Only a pleasure Jodee! Thanks for your comment!
Thanks for this useful post about food styling! I need to learn to take better food photos for my blog and it’s hard to find classes to fit into my schedule, so these are some great tips to get started with 🙂
So glad you found it helpful Erum!
Your photography is so beautiful and post inspiring. I cringe when I think about some of my food photos and your post made me realize why those I like are better. I aspire to get better and your post gave me so many great pieces of advice. Thank you!
Thanks! You know what? I have SO many photos on this blog that I absolutely despise. Like, seriously cringe when I look at them. But they also inspire me to constantly work on my style and the quality of my photos. That’s the beauty of a blog, you get to play around and make mistakes. Have fun!
I came to your blog from pinterest as I’m interested in photographing my pottery with beautiful food. Your photos are gorgeous, I’ve book marked you now!
Thanks for the lovely comment Clara!